How to make the weave at home? Highlights - reviews, photos
Weave hair - one of the most difficult types of staining. Its essence lies in the fact that the ink impacts are only pre-selected strands of hair and all the others at the same time to remain in the color in which they were originally. Today, this procedure can be in any order as the beauty salon and make yourself. Detailed description of how to make the weave at home, will be described below, and each, taking advantage of this instruction, will be able to create such beauty quickly and inexpensively.
A bit of history
Around the first half of the 20th century, a new type of hair coloring appeared, called "streak". Reviews of women who first experienced this technique have been tempting for each of the other ladies. The first model, which was brought before the general public with a similar hairstyle, was Brigitte Bardot. She dyed her famous Parisian stylist, Jacques Dessange, which in itself has made this technique famous and prestigious. Immediately after the furore generated by highlighting could afford only the rich ladies of Europe. The secret to playing this technology carefully concealed, but many girls still guess how all this can bring with his own hands. A few decades later, how do weave at home, they began to produce visual aids, and the trend is firmly entrenched in the fashion in women with different incomes.
Advantages and disadvantages of dyeing
It is important to carefully examine all the positive and negative aspects of the procedure before you make on your hair highlights. Photos of many women who are addicted to this method of staining, look very tempting. However, few people know that a similar effect is possible only with proper and regular care. So, to the following aspects include the advantages of this type of coloring: gray hair disappears completely, the minimum amount of hair is exposed to chemical attack, radical hair color does not change, hair becomes visually more volume, paint regrown roots must be no more than 1 time in 3 months. Well and cons that entails this procedure are as follows: it is impossible to lighten the individual strands, if you use regular henna or do perm, the procedure takes about 5 hours of time, after lightening the hair needed extra nutrition and hydration, otherwise they will start to fall heavily. And even despite the fact that there are many recommendations on how to make the weave at home, without a hairdressing skills to achieve the desired effect, it is very difficult. Therefore, make sure that you can cope with the task before beginning this procedure.
Types highlighting
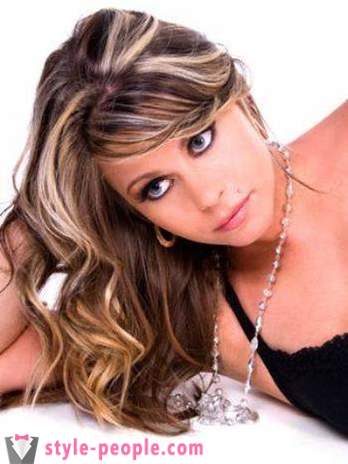
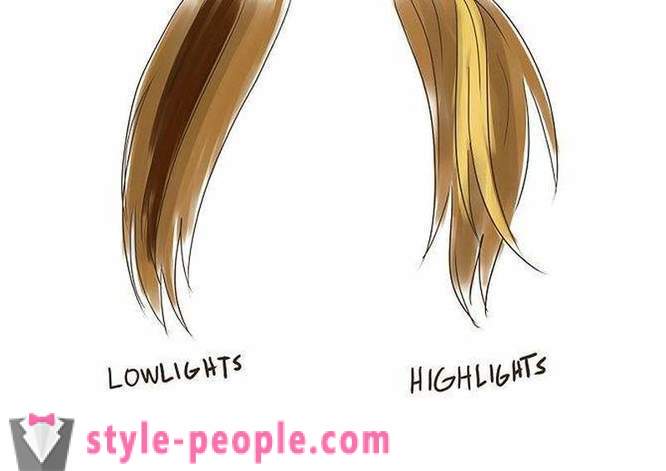
Today there are many varieties of this type of hair coloring. They are suitable as a natural blonde who wish to further freshen up its image and the burning brunette. Because at a time, consider all types of this simple technology. The first of them - a classic, is that each strand is lightened over its entire length. Its thickness may be different, but we note that the thinner it is, the more natural and softer get the final result. The second type - partial weave. Reviews of modern fashionistas tell us exactly what this technology today is the most common. Its essence lies in the fact that painted only the upper strand and the occipital part of the hair is dark. Which creates a good contrast. Reverse highlighting, as you might guess, it is that the light of the nature of the strands are painted in dark tones. Well, sparing type - a clarification of the majority of hair on the 2-3 pitch with paint without ammonia.
Blonde on a note
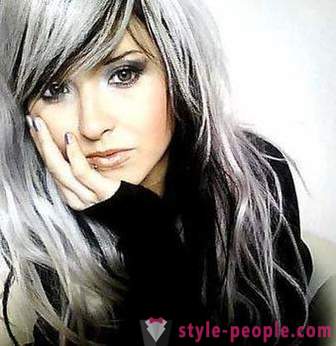
When the nature of the hair is very light, and I want to give them a certain charm, her hair done and more non-standard gourmet, comes to the rescue dark highlights. Call it can also be counterproductive, because in the course of this procedure, blond hair are painted in dark tones in different ways. Crucially color head of hair is not changed, but the hair looks more voluminous and gets a little strict, but at the same time delicate features. It is important to take into account another factor: the smaller the thickness of the strands are painted, the more natural look will be the end result. Also highlighting the dark it can only be done on the lower part of the head. That is, you paint over a large part of the neck hair, while the top and bangs remain bright.
to pay tribute to the naturalness of
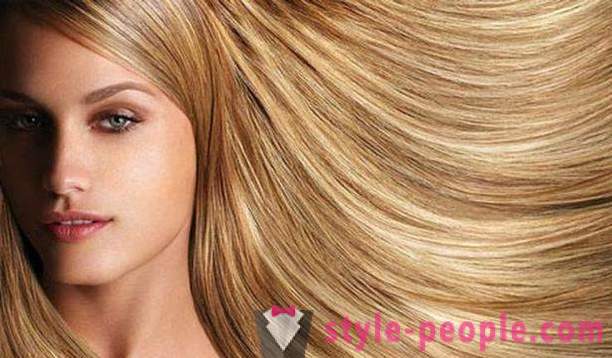
Natural hair color is now in the trend, because many girls are not willing to part with their natural hue. However, over time it can fade and become unattractive and boring. To refresh this hairstyle and do not dye your hair dramatically, stylists recommend to use light brown highlights. It is divided into several types that are very different look because the ladies and suit different tastes. The first method - a clarification of individual strands for a couple of tones with foil. The result is a feeling that only brown hair bleached by the sun. It is followed by California highlights. Reviews of those girls who have experienced it on your hair, suggests that it is quite simple to do in a barbershop, and with his own hands. In this process, sample strands are clarified, and not from the root, and after the foil does not turn. Painting thus affects neighboring hair, their color also changes slightly, and as a result we are making the most of smooth transitions.

Draw dyeing procedure with foil
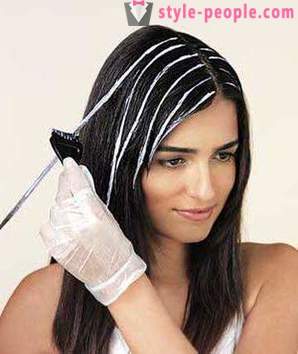
The easiest way to paint the individual strands on short hair, especially if you spend this operation at home. You need to prepare in advance sliced strips of foil, up to 10 centimeters wide, thin comb, brush, painting, plastic cup and a lot of small zakolochek. Dilute lightening powder in a certain ratio with an oxidant. Its percentage can be 3, 6, 9 or 12, it depends on the original color of your hair and the desired result. However, if you are running a home highlighting, the latter do not recommend, since it can severely damage the hair. Now divide the hair into four parts: two temporal, occipital and parietal. Getting below staining, separating the total weight of a single strand. Placed under the foil, each stain and from root to tip. Then wrap and fasten the clasp. In this spirit, in turn moving to the temples, and when the whole head is worked, leaving paint on the hair for an hour. This time, again, can be changed depending on the type of hair and the effect that you want to receive.
Partial staining long shag
If you decide to make a home highlighting long hair, it is recommended to use the Californian style. In this case, you do not have to suffer with foil, with precise separation of the clarified pryadok from those that should stay in its color. In addition, an important advantage is considered that clarification is made small, because no side effects and unexpected reactions can not be. Before you make the weave at home on the California method, it is best to buy the paint, which does not spread. It will be only partially meshing neighboring hair, you do not plastered, but much will not be affected. To paint the hair starts from the occipital zone, because there they lightened the slowest, and gradually move to the top of the head and temples. When the whole head will be worked out, do not comb, so as not to remove the hair from the clarifier, just lay all the hair back.
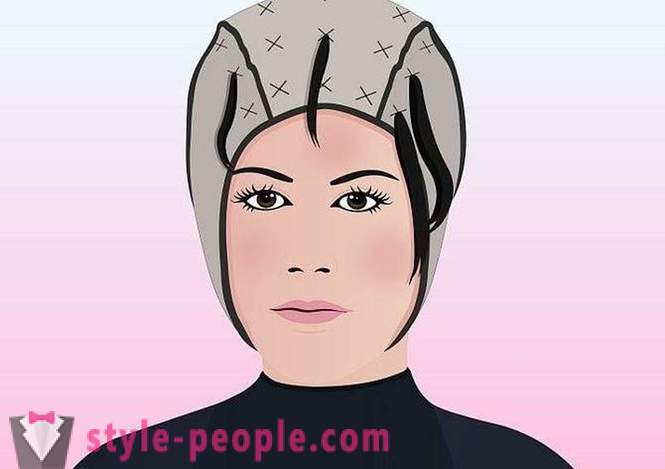
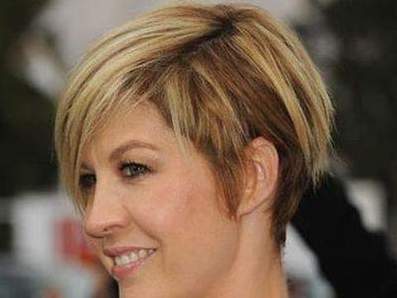
"Feathers" short hair
If you are the owner of a short hair and want to make the hair more voluminous and fresh, you will approach technique lightening hair using caps. It can be bought in any cosmetic shop, and used many times. The cap has a small hole in which skipped those strands that you have to paint. Because we put this device on his head, weed out the curls out with whom we work, and we plant clarifier in the cup. It is important to note that the result of such coloring looks not so natural, as in the previous case. After shampooing the hair are large and bright "feathers", which contrast sharply with the rest of the dark mass. In addition, these lightened areas not stained by the root.
Follow-up care for the hair
The first thing you have to buy - a shampoo and conditioner for damaged hair. Impact Clarifying powder is very detrimental, because locks must constantly nourish and moisturize. It is also useful mask from natural oils and egg yolk. You can use burdock, olive, almond. Mix with egg yolk and apply on the head for about one hour. Experts do not recommend after dyeing for a month use a hair dryer and a variety of thermal devices for hair. Allow time for the damaged tresses to get stronger, and only after they had already been a similar impact, not forgetting to handle protective creams and serums.
Conclusion
In order for hair dyeing result at home was the most appropriate, it is necessary to choose the simplest method of all of the above. Firstly, prefer colors that lighten your hair for 3 colors, no more. Second, buy a tool that does not spread. In this case, you do not have to use a foil, and the end result is a natural and very attractive.


- Most popular
-
 Arturo Gatti: Biography, cause of death
-
 Alexander Gusev: photos, biography, sports career, interesting facts
-
 Tatiana Tarasova: biography, personal life, photos
-
 Dress code: types and rules. Description of the main types of address of code and practical advice on compliance with all the rules.
-
 What is Zumba-Fitness? ZUMBA - Dance fitness program
-
 Viktor Onopko, football player: biography, personal life, sports career
-
 Maria Petrova - skater, a teacher and mother
-
 Ronnie Coleman: Biography, interesting facts of life
-
 Pink manicure with white: design ideas
-
 Baked powder "Pupa": reviews, palette, applying the rules. powder Pupa
-
 Dennis Bergkamp - Dutch football coach. Biography sports career
-
 Paint Igora Royal: color palette
-
 Japanese sword: name, types, production, photos
-
 Beautiful makeup day. How to make a day makeup for gray eyes?
-
 Haircut cascade on short hair: new image